After the purchase, I did much research before beginning the refurbishing project on my beautiful chair.
First things first, one must take the current fabric off, and take the stuffing out of the chair. I'm not a lover of second hand items, and my stomach turns a bit wondering what each smell and each random dropping. This process, for me, was the worst part. I wasn't sure I'd ever make this chair my own.
 |
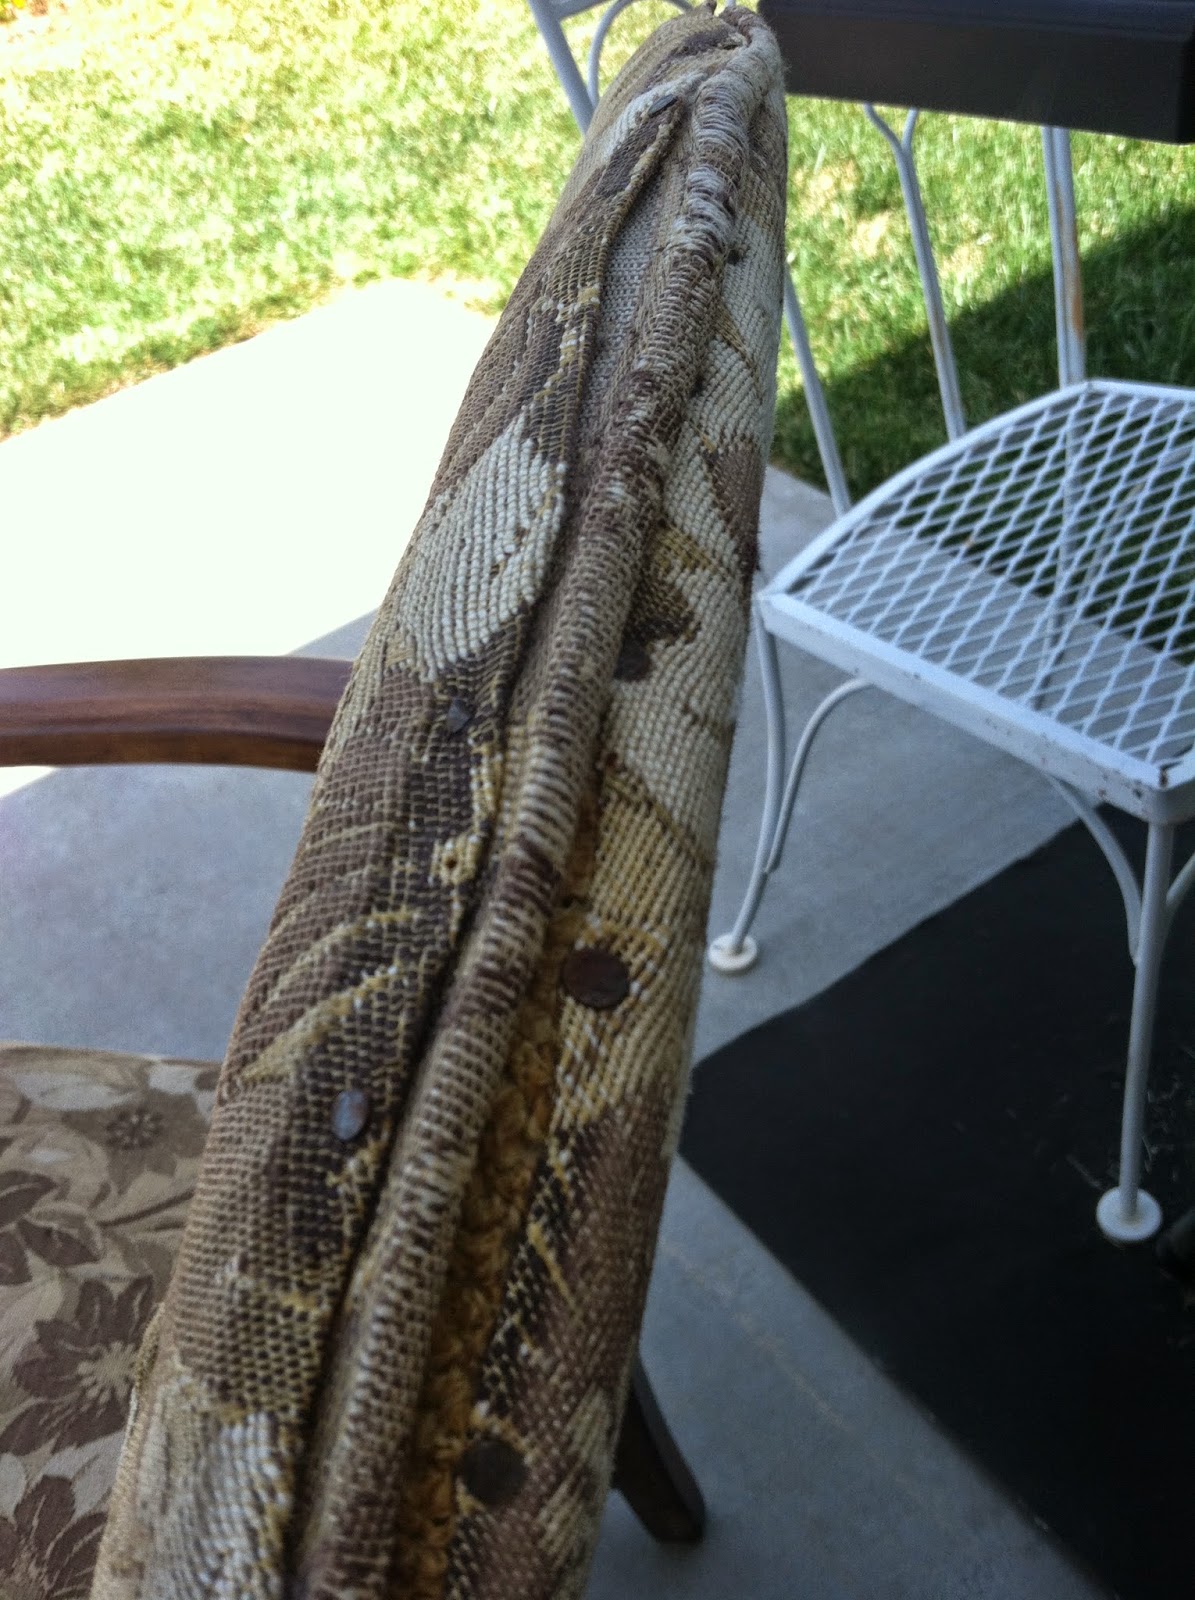
No tools were needed to take the border off the back of the chair. The rusty tacks pulled out easily.
|
Under the upholstery tacks were small nails.
With the removal of all the small nails came the discovery of lots of nail holes in this beautiful wood.
The bottom of the chair was covered with a piece of heavy, cream-colored canvas material. The seam on it made me think the fabric was once a skirt?

Remember in Part 1 when I said I believed the chair was "over covered" - this shows that it was. Gorgeous sides on the back of the chair that should not be covered.
The seat had what looked to be the original seat - because it was not tacked to the wood like the covering was.
Remember the thought I had about the chair being "over covered?" Here is proof. Look at those gorgeous wings on the back!
Behind the burlap was a think layer of foam and, what looked to be the original fabric of the chair.
The underneath and the back of the chair had an interesting burlap (of various qualities) hand sewn and tacked on the chair.
Imagine my surprise when I discovered this chair had a metal skeleton inside to hold the contents of the chair and to offer support to the seat. What a GREAT FIND!
The back - I believe the original fabric of the chair - worn & faded.
The seat of the chair. Faded & worn.
Inside the seat was a variety of foam, cotton batting, and scraps of the original fabric - which was maroon in color.
All my research told me to keep all the scraps and use them as a pattern for the recovering of the chair. I did not choose to do that, because I was not pleased with how it was covered and had full plans to do it differently.
Though the chair still smelled, it was slowly becoming mine.
It was beautiful had had great potential. And - all the while, I could not take my eyes of that swirl on the front.
Time to clean the chair. Fellow Pinners recommended TSP to clean. The instructions say to add 8 oz per 1 gallon of water. I knew I'd not need a full gallon to do this job.
After doing the math, let me share with you this lovely piece of information.
I use 2 Tablespoons for 2 cups of water. (I wrote the formula on the back of the bottle, which I believe I will use for many projects.)
Instructions on TSP encourage glove use. I spread a plastic tarp, I wasn't sure what kind of damage I'd do to the grass in my yard.
I recommend getting a sponge that has something that will do some good scrubbing on one side.
Spray the TSP/Water, let it sit, scrub it, spray it more, wipe it off with clean water.
I finished by hosing the chair off and then let it sit in the sunshine and dry. I was thankful for this hot summer day!
At this point, I just looked it over and wondered.
With all those nail holes, how would I address the wood and it's appearance?
Would I paint it? What fabric would I use?
I had a lot of questions in my brain and felt the need for research and a I knew I'd need a consultation with my dad.


No comments:
Post a Comment